Guide to Microneedling
Share
Are you looking to rejuvenate your skin, boost collagen production, and tackle issues like fine lines, scars, or uneven texture? Microneedling might be the solution for which you have been searching! This minimally invasive procedure has gained popularity in the beauty world for its remarkable results. In this blog, we’ll dive into what microneedling is, how to prepare for it, a DIY guide for performing the treatment at home, and the best aftercare practices to ensure your skin stays healthy and radiant.
What is Microneedling?
Microneedling, also known as collagen induction therapy, involves using a device equipped with fine needles to create microinjuries in the skin's surface. This process stimulates the body’s natural healing response, resulting in increased collagen and elastin production. The result? A smoother, firmer, and more youthful complexion!
Before we get started did we talk about the fact you can microneedle your entire body? Well you can, and here is a guide to the depth you want to go for specific concerns and for different body parts. An example, do you have a C section, chicken pox or surgery scar you want to get rid off? You will love Microneedling for this. Over time scars fade using microneedling. What about loose crapey skin issues above the knees or neck? Microneedlng regularly is a great way to reinvigorate skin in these areas by generating collegan, something we loose over time. Here's a cheat sheet we prepared for you:

Microneedling How to Prepare
Preparation is key to achieving optimal results. Here are some essential steps to follow:
1. Research and Choose the Right Device
If you are planning to do microneedling at home, invest in a high-quality microneedling device. Look for sterilized needles and adjustable needle lengths. Options like derma rollers or electronic microneedling pens are popular choices.
 2. Clean Your Skin
Start with a clean canvas. Wash your face with a gentle cleanser to remove makeup, dirt, and oils. Pat dry with a clean towel.
3. Numb the Area
To minimize discomfort during the procedure, apply a topical numbing cream to the treatment area at least 30 minutes before starting. This step is especially important if you are using a longer needle depth.
4. Ensure a Controlled Environment
Perform the treatment in a clean, well-lit area. It is crucial to maintain sterility to prevent infection and ensure optimal results.
Microneedling - Step by Step Guide
Materials Needed:
-
A sterile microneedling device (derma roller or microneedling pen)
- Numbing cream
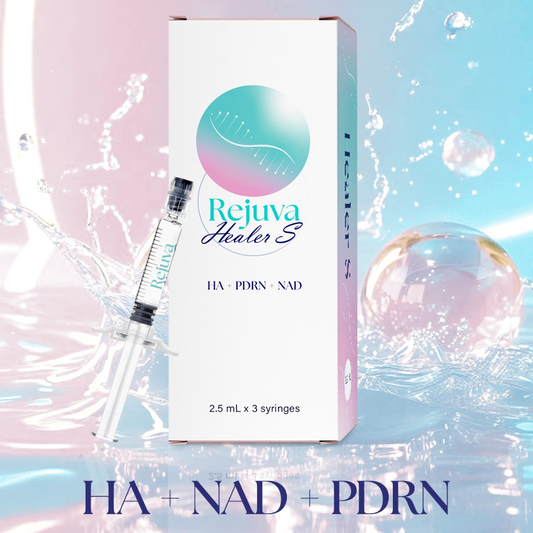
- Serum or Skin Booster - Salmon DNA Serum, Stem cells or even just hyaluronic acid)
Moisturiser - Clean towels
 Step 1: Sanitise
Before you begin ensure your hands are washed and sanitised. The microneedle heads come in in single packet and should be thrown away after use.
Step 2: Apply Numbing Cream
If you are using a numbing cream, apply it evenly over the treatment area and wait for about 30 minutes. Wipe off excess cream before starting.
Step 3: Section Off Your Face
Divide your face into sections (forehead, cheeks, chin, etc.) for a systematic approach. This will help you cover all areas evenly.
Step 4: Start Microneedling And Applying Your Serum
Hold the device at a 90degree angle to your skin. Gently roll or glide the device over each section in a vertical, horizontal, and diagonal pattern. Apply light pressure; there is no need to push hard. Aim for forty-six passes per area but listen to your skin's response. Make sure your skin has enough moisture (or slip) to keep it gliding on the skin.
 Step 5: Apply Serum Again
During and after microneedling (five to ten minutes after the treatment these channels are still open), your skin will be primed to absorb products. Immediately apply your chosen serum to enhance hydration and promote healing. Salmon DNA and Stem Cells are leaders in this field.
Step 6. Apply a face mask directly after you apply the serum.
Step 7. Use a red light therapy device for at least 20 minutes to help repair your skin and enhance collagen induction.
Step 8: Moisturise
Follow up with a gentle moisturizer to nourish and soothe your skin. Avoid heavy or irritating products immediately after treatment. Check out our ultra hydrating Salmon DNA Skincare lines.
Aftercare: Keeping Your Skin Radiant
Post treatment care is vital for optimal results and recovery. Here is how to pamper your skin afterward:
1. Avoid Makeup
Refrain from applying makeup for at least 24 hours posttreatment to prevent irritation and allow your skin to breathe.
2. Sun Protection
Your skin will be sensitive and prone to sunburn after microneedling. Use a broad-spectrum sunscreen with SPF 30 or higher and avoid sun exposure for at least a week. Try our Salmon DNA Sunscreen
3. Hydrate
Stay hydrated! Drink plenty of water and use hydrating products to keep your skin plump and moist.
4. No Harsh Products
Avoid retinoids, exfoliants, and active ingredients for at least a week after treatment. Stick to gentle, hydrating skincare products.
5. Maintain a Skincare Routine\
Continue to nourish your skin with a regular skincare routine that includes gentle cleansing, hydration, and sun protection. Consider integrating serums with growth factors or peptides to promote recovery and enhance results. Check out our Salmon DNA range here
6. Follow Up
Consider scheduling follow up treatments every 4 to 6 weeks for optimal results, depending on your skin type and concerns. Check out our Beauty Routine Calendar
Microneedling Final Thoughts
Microneedling can be a fantastic way to rejuvenate your skin and achieve a youthful glow. Whether you choose to do it at home or with a professional, following the right preparation, technique, and aftercare will enhance your results and keep your skin healthy. Always listen to your skin and consult a dermatologist for personalised advice tailored to your needs.

Please note that our products are meant to be administered by medical professionals. We are not responsible for any negative inflictions that may arise after administering products by yourself. This information is meant to supplement, not replace advice from your doctor or healthcare provider, and is not meant to cover all possible uses, precautions, interactions, or adverse effects. If you are not aware of the use or application method, we highly encourage you to consult an appropriate professional for advice based on your specific circumstances.


